


A simple idea -- why didn't I think of this before?? You take a baked cake from any cake mix, crumble it in a bowl once it is cooled, add a 16 oz. container of any flavored frosting to the crumbs, and mix. Roll the mixture into balls and refrigerate a few hours until firm.

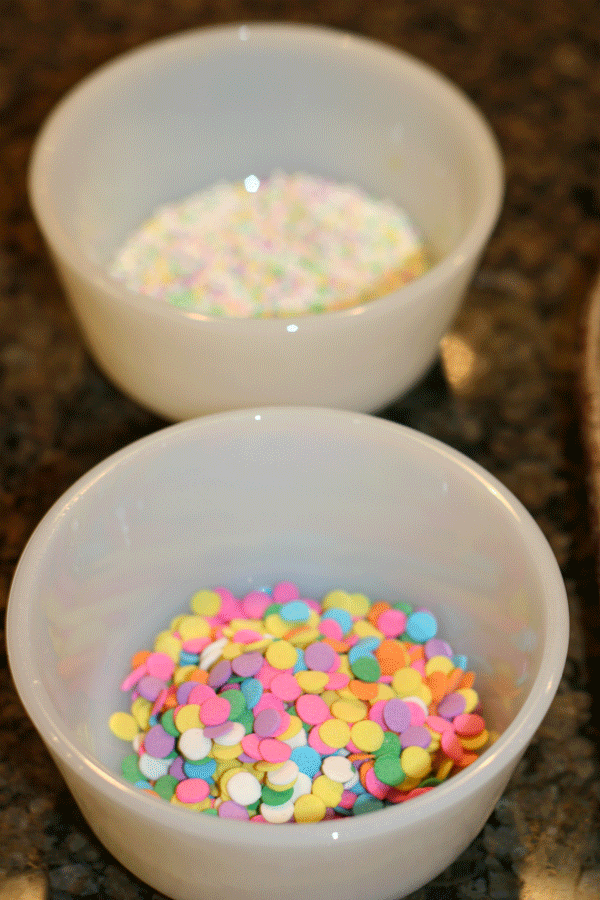
Decorate immediately with sprinkles.


Some tips I learned along the way...
1. Do not use the whole can of frosting. Use about 3/4s of the can and mix to see if the cake mixture is moist enough to form into balls. Nothing worse than gooey cake balls!
2. Use a cupcake or cookie scoop to form uniform balls.
3. Make sure the balls are REALLY chilled before dipping into the candy coating. Either refrigerate for a few hours or place in the freezer for only 15-20 minutes if you are impatient. ha!
4. Use a small spoon to dip the cake balls. Drop and spoon the coating OVER the balls. Try not to get cookie crumbs in the candy mixture! Which leads to #5....
5. Sprinkles cover a multitude of sins! haha I have found it is better if you use a light colored cake mix with light colored coating, and a dark cake mix with dark colored coating. That way you won't see the little cake crumbs that somehow magically appeared into your coating mixture.
6. Tap your spoon on the side of the bowl to remove excess coating from the balls so you don't have a puddle once you drop them onto the waxed paper.
That is about it! It took a few tries to get these babies right, but I'm pretty happy with the results. To see PROFESSIONAL looking cake balls, visit Bakerella's website! Lots of cute ideas!
7 comments:
yummm- what a fun idea...
have agreat weekend
xo
tina
I have to say that these look really yummy- I have been in a cupcake mode!
great tutorial..love this idea for Easter or other occasions! Thanks...;-)
Oh, they look like little easter egg truffles! I can't wait to try this!
I think I could probably fit 3 or 4 in my mouth at once??? They look delish. Thanks for the inspiration!
Oh my YUMMY! These look delicious! My daughter and I would have fun making them... thanks for sharing! Theresa
Great! I've seen the recipe before but your suggestions are incredibly helpful. I have a friend's birthday coming up this weekend and I'm going to try these bad boys out!
Post a Comment